
A layer-by-layer Casualties: Unknown walkthrough for the demo: routes, hazards, enemies, loot priorities and the gear to bring into each descent.
Casualties: Unknown Walkthrough: Layer 1 to 5
This walkthrough follows the demo's five layers in order. Each section gives the layer's shape, the hazards that actually kill, the enemies you cannot avoid, what to loot and what to carry into the next descent. It assumes Normal difficulty and a first character with no inherited gear.
The demo loops after layer 5, so there is no final boss. The goal is not to finish; it is to build a character and a stash that can survive the loop repeatedly.
Official source: Casualties: Unknown Demo ↗
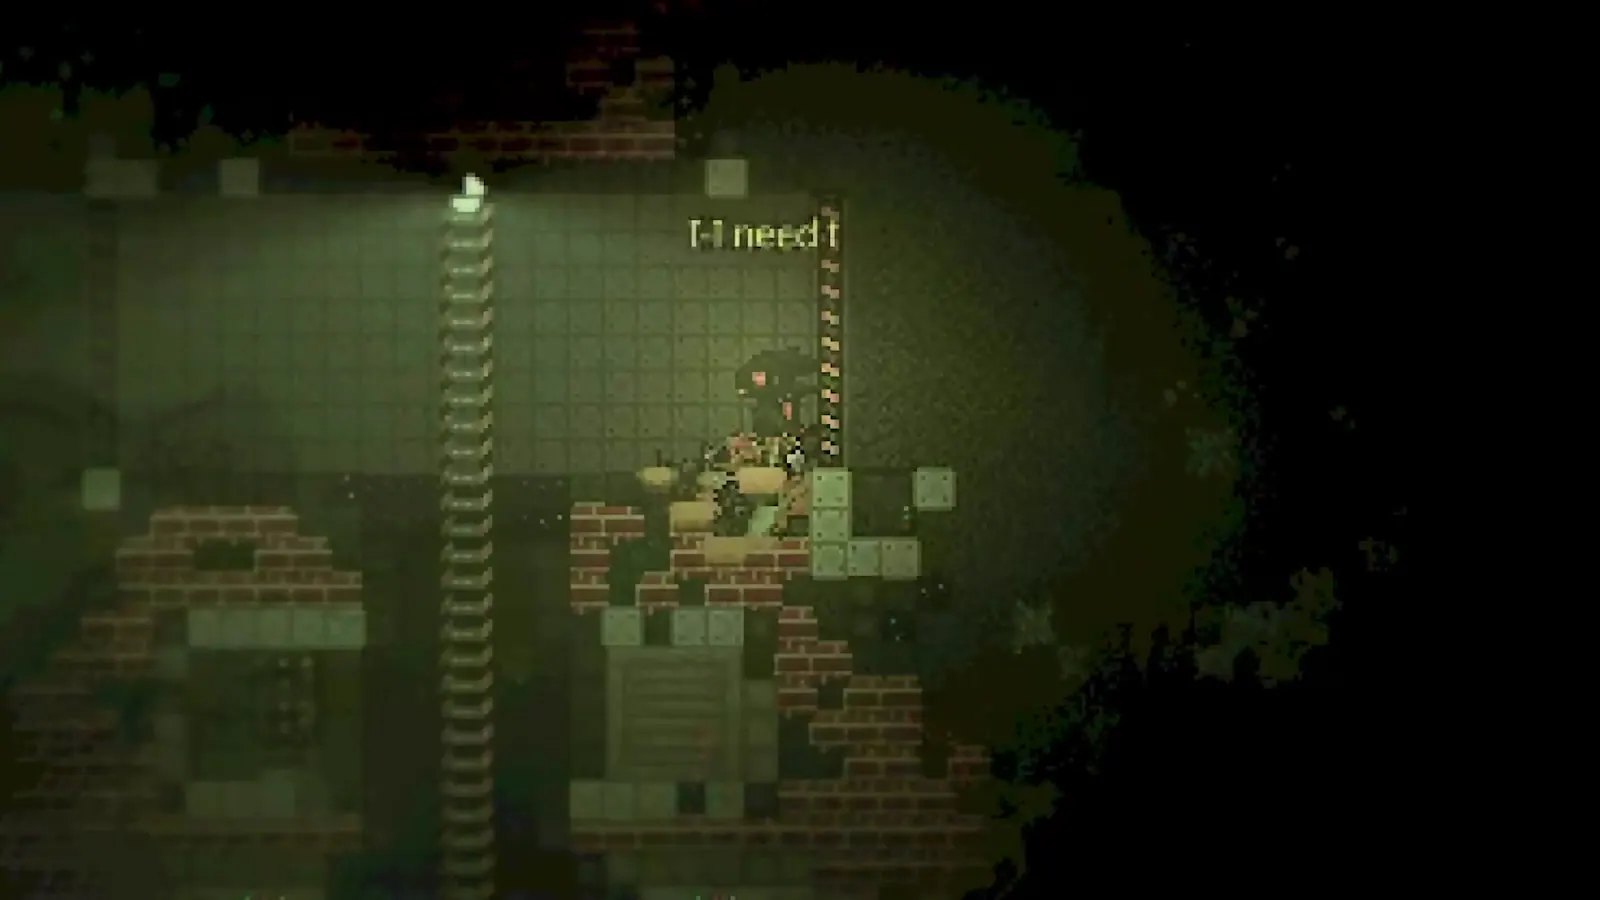
Before layer 1
Do the first crafts before you leave the pod: a Foliage bag (1 rope + 2 canvas) and a canteen (2 plastic chunks + 1 rope + 10 mL bio-chem fluid). Both recipes are in the beginner guide. Carry the emergency light in your off-hand and a pickaxe in your main hand. If you have no pickaxe, mine the first copper with your hands and craft one at the pod.
The layer entrance is a vertical shaft. Do not jump down. Climb the vines, check the first ledge, and throw a rock into the dark below. A geyser that fires on a rock is a geyser you do not have to heal.
Layer 1: Gravel Lands
Depth: 0–300 m below the entry pod. Average temperature: 15 °C.
Gravel Lands is made of small, connected caves with pale rock, gravel, dirt and clay. Groundwater pools sit in the low points, and occasional climbing ropes mark the intended route. Background light holes are the layer's signature: they illuminate paths and usually connect two vertical sections.
Route. Follow the light holes downward but do not mine straight up into them. The ceiling is thin, and a collapse is a fast way to lose a leg. At each junction, drop a piece of ore or a spare tool to mark the way back. The layer is small enough that you can reach the bottom in one trip if you do not chase every node.
Hazards. Geysers, jump pads and spike traps. All three are placed on the obvious path. Test ledges with a thrown item. Spike traps are usually visible as a slight colour change in the floor; geysers have a mineral crust around the vent.
Enemies. Shade crawlers. They telegraph with a pause and a click, then lunge. A single hit is survivable; two in quick succession can open a bleed you cannot treat with starting supplies. Fight them in open cave, not on a ledge.
Loot. Copper, coal, Glowplant fibre and fruit, Geotree wood and sap, Stoneplant for painkiller base, Leadbush for coating poison. Take 20–30 copper, one or two coal, and every bandage material you can find. Leave the heavy rock.
Exit. The bottom of the layer has a save prompt. Use it. If your blood is below 4.2 L or your light is dying, climb back to the pod instead of descending.
Layer 2: Deeper Gravel Lands
Depth: 300–600 m. Average temperature: 17.5 °C.
The second layer continues the first but removes the light holes. It is darker, wetter and more vertical. Water pools are common, and the last third transitions into sand and sandstone. The main threats are darkness, flooding and Cave ticks.
Route. Follow the water downstream. Water always finds the lowest exit, and the layer's vertical shafts are usually wet. Climb with a free hand: swap your pickaxe to the backpack before you grab a vine, or you will hang there unable to fight.
Hazards. Geysers, jump pads, spike traps, barbed fences, bear traps and Cave tick spawners. The barbed fence is the new one: it does not kill, it infects. If you brush one, treat the cut immediately. Bear traps break a leg and hold you in place while enemies close in.
Enemies. Shade crawlers and Cave ticks. Ticks swarm in threes and stagger their jumps; back into a wall so they cannot surround you. A thrown rock can scatter a tick cluster before it commits.
Loot. Lumalgae is the new light source and a crafting material. Groundwater is available but carries sickness; boil it or use it only to fill a canteen you will later purify. Sand and sandstone nodes appear near the bottom and are worth taking for glass and construction recipes.
Exit. The layer's bottom is a dry sandstone shelf. This is a good place to drop heavy ore before the desert. If you have a spare container, cache the ore here and retrieve it on the way back.
Layer 3: Dried Desert
Depth: 600–900 m. Average temperature: 26.6 °C.
Dried Desert is the first wide layer. Caves open into large sandstone and granite chambers with high drops, oil pools and much harsher trap placement. Water is scarce. The heat is a slow drain until it is a fast one.
Route. Stay high. The oil pools collect at the bottom of the chambers and are viscous enough to drown a character who falls in. Use sand vines to cross gaps and look for Rose light, which marks a safe shelf in the otherwise uniform red rock. The Recharging station vault is often flooded with oil; approach from above, not through the pool.
Hazards. Jump pads, barbed fences, bear traps, turrets, stalactites, landmines and waste pipes. Turrets track line of sight and fire in bursts; break the line before you heal. Landmines are small and sit on the natural path. Stalactites fall when you mine the ceiling above them. Waste pipes spray a damaging jet on a timer.
Enemies. Shade crawlers and Sand stalkers. Sand stalkers close distance in a straight line. Side-step rather than backpedal; their turn is slow. They are the first enemy that punishes fighting in the open.
Loot. Cactus, dried bush, Brownshroom, Sand rose and Sandvine. The layer has no Container crate, Medical crate or Food box, so do not plan on a supply cache. Carry water in, and carry empty bottles for the rare clean pool. Ore is sparse compared with the gravel layers.
Exit. The bottom of Dried Desert is a hot, open chamber with a save point. Before you descend, drink, cool off and repair your light. Wasteland is next, and it is cold at the other end.
Layer 4: Wasteland
Depth: 900–1,200 m. Average temperature: 25.8 °C, ranging from -20.4 °C to 38.6 °C.
Wasteland is the radiation layer and the only layer with no enemies. That does not make it safe. The entire layer is a trap course built from giant bricks, with radiation sources, sound cannons, coils and spent fuel rods. The temperature swings from freezing to baking, and the last third transitions into vegetation.
Route. Move from cover to cover and watch the light. Radiation sources glow faintly and show on the health panel as a rising dose. Sound cannons knock you down and can rupture organs if you are caught in the open. Coils and spent fuel are stationary but hit hard. The Recharging station vault is the only reliable power stop; clear the area before you use it.
Hazards. Jump pads, turrets, coils, stalactites, landmines, waste pipes, sound cannons and spent fuel. There are no bear traps or tick spawners here. The absence of enemies means every death is your own route choice, which is somehow worse.
Loot. Food boxes appear here even though medical and container crates do not. The vegetation in the final third gives Glowplant, Stoneplant, Ceiling rye, Cactus, dried bush, Brownshroom, Sand rose, Pop and Sandvine. Pop is the new plant; it is a cheap stimulant base.
Exit. The layer ends in a brick vault with a save point. Rads do not clear on their own quickly; if your dose is high, use the pod and wait before descending. Overgrown Depths is a fight layer, and radiation sickness will make it worse.
Layer 5: Overgrown Depths
Depth: 1,200–1,500 m. Average temperature: 21.8 °C.
Overgrown Depths is the jungle and the demo's combat exam. Thick vegetation, edible plants, tree sap and groundwater make it the best-stocked layer in the demo. It also has the densest enemy population and the Elder Thornback.
Route. Follow the water and the tree cover. The layer has no turrets or landmines, but it has Geysers, jump pads, spike traps, bear traps, Cave tick spawners, Skullcrushers, Banana-plants and Coils. The vegetation is not just decoration: Banana-plants drop edible fruit and the leaves slow movement.
Enemies. Shade crawlers, Sand stalkers, Cave ticks, Overgrown ticks, Tentacle-plants, Thornbacks and the Elder Thornback. Tentacle-plants grab and hold; cut the tentacle or kill the plant. Thornbacks are slow until they charge. The Elder Thornback is the boss: it can dismember a limb on a hit, and a second hit on a disfigured character is lethal.
Boss tactics. Fight it in a vertical space, not a flat chamber. Break line of sight, let it commit to a charge, then hit from the side. Throwables are safer than melee. If you lose a limb, stop fighting and treat the bleed before you try to finish it. The enemies guide has the full move set.
Loot. Glowplant, Stoneplant, Ceiling rye, Geotree, Hydreed, Leadbush, Banana-plant, Sandvine and Pop. Tree sap is a food and craft material. The layer's Brick vault is the best storage point before the loop.
Exit and loop. The bottom of Overgrown Depths has a save point. Descending past it returns you to Deeper Gravel Lands, not to a sixth layer. The loop keeps your character, gear and stash. At that point you can push deeper for loot, hunt the Elder Thornback, or start a new run with a different build.
Gear checklist before each descent
| Slot | Minimum | Better |
|---|---|---|
| Light | Emergency light + spare fruit | Lantern + Glowplant fruit |
| Mining | Pickaxe | Metal or titanium pickaxe |
| Weapon | Machete | Titanium machete or rifle |
| Bag | Foliage bag | Backpack or Trauma rig |
| Water | Canteen | Canteen + water bottle |
| Medical | 2 bandages, antiseptic | Splint, packing, blood bag |
| Warmth | Hoodie | Strider pelt or insulation layer |
The full item tables are in the crafting guide and the tier list.
The descent is optional; the climb out is not. If water or bandages are half gone, the next layer is a debt you cannot pay.
FAQ
How deep is each layer? 300 metres. The demo's five layers cover 1,500 metres of descent.
Can I skip a layer? No. The exit of each layer leads to the next. You can climb back up at any time, but you cannot skip forward.
What happens after layer 5? You loop to Deeper Gravel Lands with your character and stash intact.
Do layers randomised? The layout is generated per run, but the layer's biome, enemies, traps and plants are fixed. Layer modifiers add a second layer of variation.
Sources and further reading
Related guides
More Casualties: Unknown Guides
Every weapon in the Casualties: Unknown demo ranked: damage, swing speed, durability, ammo and which weapon fits which layer.
How blood volume, bleeding rate, tourniquets and transfusions work in Casualties: Unknown, and the order to treat a bleeding limb.
The three playable characters in Casualties: Unknown, what Experiment can do in the demo, and what is actually confirmed about Milky and Dune.
How crafting works in Casualties: Unknown: the five tabs, Intelligence requirements, failure tiers, blueprints and the recipes worth making first.
What the free Casualties: Unknown demo includes, how long it takes, where it ends, what carries over and how to install it on Steam.
All six Casualties: Unknown presets plus the 41 custom run settings, with defaults, ranges and the options that actually change survival.
Casualties: Unknown endings explained: the confirmed story goal, the unreleased final layers, what the demo does at layer 5, and what is still speculation.
Every enemy in Casualties: Unknown, its layer, attack pattern and drops, plus the Elder Thornback fight and the traps that kill more players than monsters.