
Casualties: Unknown item tier list for the demo: the best tools, weapons, armour, containers and medical items, ranked by how much they change a run.
Casualties: Unknown Tier List: Best Items Ranked
This tier list ranks the items that actually change a run in Casualties: Unknown. It is built for the demo's five layers and Normal difficulty, with no trader luck and no rare drop assumed.
The ranking is not "damage per second". An item earns a high tier by solving a problem the cave creates: blood loss, infection, darkness, carry weight, head trauma. A weapon that kills slightly faster is worth less than a helmet that prevents the hit.
Official source: Casualties: Unknown on Steam ↗
How the tiers work
- S: changes how you play. Worth routing a run around.
- A: strong, reliable, usable in almost every layer.
- B: good until you find the upgrade; never a mistake to carry.
- C: situational or starter gear. Replace it when you can.
S tier
| Item | Type | Why it is S |
|---|---|---|
| Riot helmet | Armour | 67% head protection, no durability loss. The head is the body part that ends runs. |
| Backpack | Container | 7.5 u capacity, 45% weight reduction. Capacity is the stat that lets you carry medicine. |
| Titanium machete | Weapon | 80 enemy damage, fast swing, 3,000 durability. The best all-round melee weapon in the demo. |
| Lantern | Light | Bright, reliable, hand-slot efficient. Turns the cave from a guess into a map. |
| Blood bag | Medical | 750 mL of blood. The only item that reverses a lethal bleed in time. |
| Splint | Medical | A fracture without a splint is a run end. Cheap to craft, impossible to replace in the field. |
These six items cover the four ways a run ends: head trauma, capacity failure, bleed-out and immobility. If you have all six, the cave has to kill you with something more creative.
A tier
| Item | Type | Why it is A |
|---|---|---|
| Titanium pickaxe | Tool | 140 mining damage, 3,000 durability. Halves the time spent tunnelling. |
| Carapace | Armour | 50% chest protection. The torso has the most vital organs and the fewest replacements. |
| Tactical boots | Armour | 67% foot protection, 30% insulation. Feet are the most common fracture site. |
| Tactical gloves | Armour | 50% hand protection. Hands operate the medical items that save you. |
| Canteen | Container | 300 mL, does not lose weight as it empties. The correct first water container. |
| Sterilized dressing | Medical | Stops a bleed and reduces infection risk in one use. |
| Antiseptic | Medical | The difference between a cut and a 23% infection roll. |
| Rifle | Weapon | 120 enemy damage, 30-round magazine. A-tier, not S, because of ammo weight and noise. |
| Trauma rig | Container | 6 u, 70% weight reduction. Better than a backpack if you can find one. |
| Metal pickaxe | Tool | 110 mining damage. The realistic mid-game pickaxe. |
B tier
| Item | Type | Why it is B |
|---|---|---|
| Machete | Weapon | 50 enemy damage. Fine in layer 1, outclassed by layer 4. |
| Bicycle helmet | Armour | 50% head protection. A real upgrade over nothing. |
| Kneepads | Armour | 50% shin protection. Cheap and effective. |
| Belt | Container | 4 u, 60% weight reduction. Good second container. |
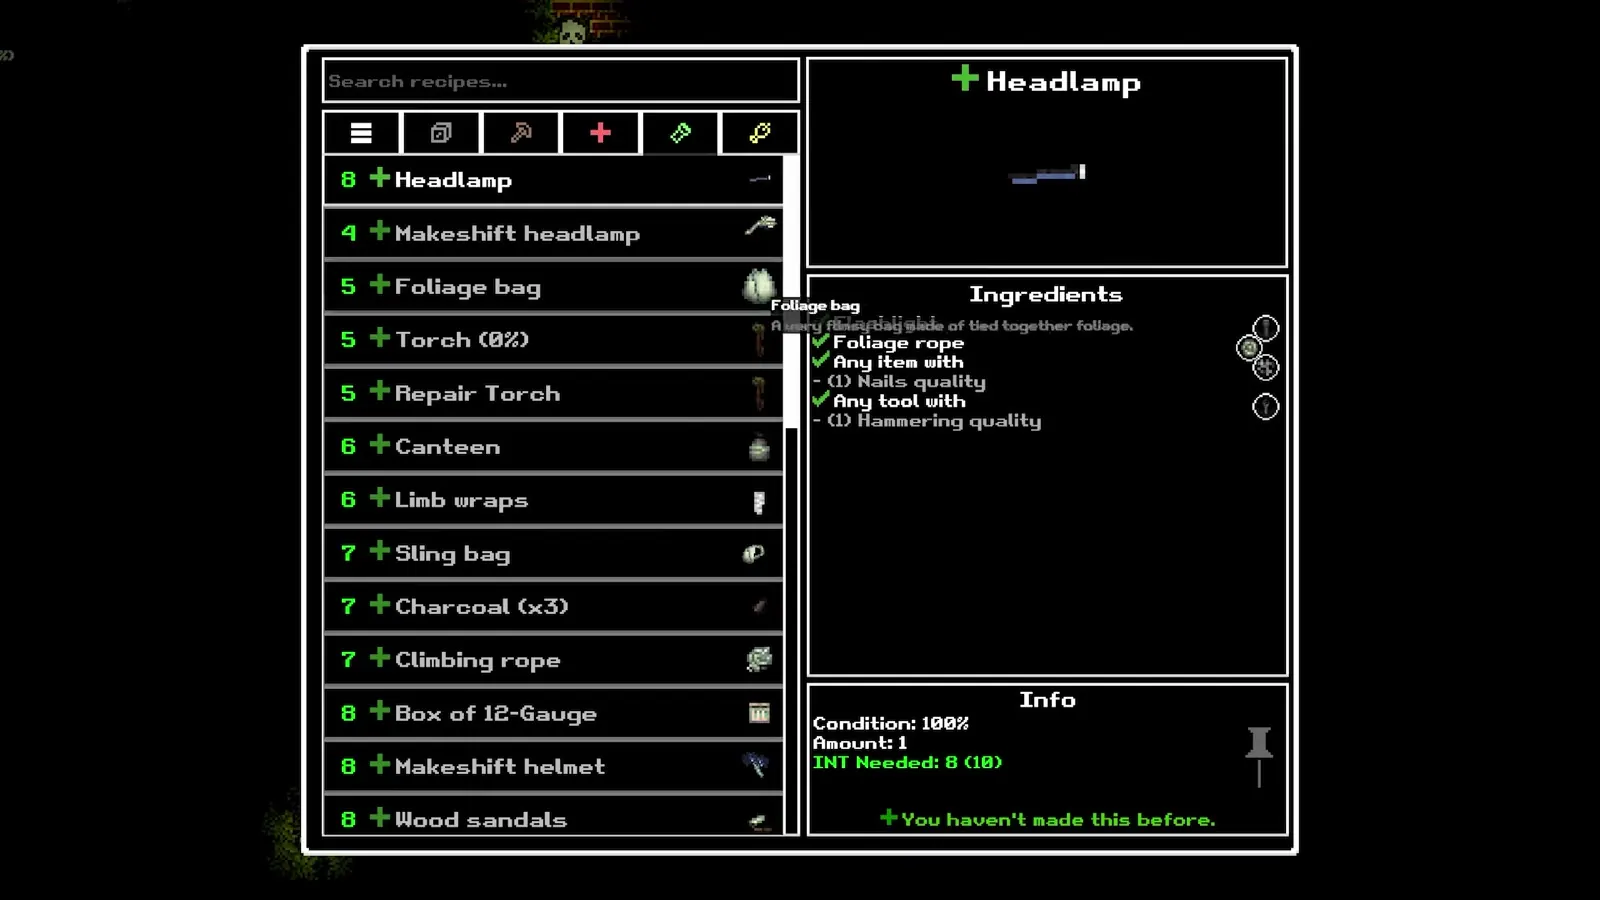
| Foliage bag | Container | 1.5 u, cheap. The correct first craft, not a long-term bag. |
| Bandage | Medical | Stops surface bleeding. Not enough for an arterial bleed. |
| Painkiller | Medical | Takes the edge off a fight. Does not stop the cause. |
| Coffee | Drink | 12 thirst, 350 s energized. Useful before a boss, not before sleep. |
| Pump shotgun | Weapon | 60×8 damage close range. Strong in tunnels, useless across a chasm. |
| Jetpack | Container | 2.5 u and mobility. A mobility item that happens to carry things. |
C tier
| Item | Type | Why it is C |
|---|---|---|
| Bare hands | Tool | 20 mining damage. Only until you craft a pickaxe. |
| Wooden pickaxe | Tool | 105 mining damage, 140 durability. Breaks before the layer ends. |
| Hoodie | Armour | 20% protection but 60% insulation. Take it for cold, not for fights. |
| Makeshift rifle | Weapon | 80 damage, 9 mm. A gun that behaves like a bad melee weapon. |
| Groundwater | Drink | 8 thirst but 5.5 sickness. Drink it only when the alternative is worse. |
| Alcohol | Drink | 7.5 thirst, 7 sickness. A disinfectant that also dehydrates you. |
| Foliage meal | Food | 18 hunger, +3 sickness. Emergency calories. |
| Banana | Food | 9 hunger, +0.3 Gy. The radiation is small; the calories are smaller. |
Best-in-slot by slot
| Slot | Best | Runner-up |
|---|---|---|
| Head | Riot helmet | Bicycle helmet |
| Chest | Carapace | Hoodie (cold) |
| Hands | Tactical gloves | — |
| Legs | Kneepads | — |
| Feet | Tactical boots | — |
| Back | Trauma rig | Backpack |
| Main hand | Titanium machete | Machete |
| Off hand | Lantern | Glowplant fruit |
| Medical | Blood bag | Sterilized dressing |
Items that are traps
Some items look good and are not:
- Heavy armour without insulation. A carapace in Frozen Chasm is a cold-torso build. Layer 6 needs heat, not plate.
- A rifle before ammo. A gun with 17 rounds is a melee weapon with extra steps.
- A second backpack. Containers do not nest. Carry a belt or pouch instead.
- Ore as loot. If the choice is ore or a blood bag, take the blood bag every time.
- Bananas as food. The radiation is small, but so are the calories. Geofruit is better.
How the tiers change by layer
| Layer | Tier shift |
|---|---|
| 1 Gravel Lands | Foliage bag and hoodie move up; armour is scarce |
| 2 Deeper Gravel | Lantern and splint move up; darkness and falls increase |
| 3 Dried Desert | Canteen and heat insulation move up; water is scarce |
| 4 Wasteland | Radiation medicine and insulated gear move up |
| 5 Overgrown Depths | Blood bag, rifle and full armour move up; combat density peaks |
A tier list is a snapshot of the demo. Layers 6–11 add cold, fungal and vertical threats that will promote different items.
A backpack is S-tier on layer 1 and a liability in a boss fight. Read the tier list by slot and by layer.
FAQ
What is the best item in the game? The riot helmet, because head protection prevents the damage that ends runs. The backpack is a close second.
Is the rifle worth it? Yes, once you have ammo and a stash. Not as a first weapon.
What should I craft first? A Foliage bag, then a canteen, then a pickaxe. The beginner guide has the recipe costs.
Are there legendary items? No rarity system is documented. Items differ by material, condition and stats, not by colour tier.
Does this tier list apply to the full game? The S-tier logic does. Specific ranks will shift when layers 6–11 add new gear.
Sources and further reading
Related guides
More Casualties: Unknown Guides
Every weapon in the Casualties: Unknown demo ranked: damage, swing speed, durability, ammo and which weapon fits which layer.
How blood volume, bleeding rate, tourniquets and transfusions work in Casualties: Unknown, and the order to treat a bleeding limb.
The three playable characters in Casualties: Unknown, what Experiment can do in the demo, and what is actually confirmed about Milky and Dune.
How crafting works in Casualties: Unknown: the five tabs, Intelligence requirements, failure tiers, blueprints and the recipes worth making first.
What the free Casualties: Unknown demo includes, how long it takes, where it ends, what carries over and how to install it on Steam.
All six Casualties: Unknown presets plus the 41 custom run settings, with defaults, ranges and the options that actually change survival.
Casualties: Unknown endings explained: the confirmed story goal, the unreleased final layers, what the demo does at layer 5, and what is still speculation.
Every enemy in Casualties: Unknown, its layer, attack pattern and drops, plus the Elder Thornback fight and the traps that kill more players than monsters.