
How trader reputation, prices, haggling and hostility work in Casualties: Unknown, with the exact price multipliers and the safest way to buy medical supplies.
Casualties: Unknown Trader Guide: Reputation and Prices
Traders are the most reliable source of medicine in Casualties: Unknown. They are also the only NPCs that can become hostile without you attacking them first. The system is reputation-based, the prices are non-linear, and the difference between a good and a bad first impression is often a single item in your hand.
This guide covers the exact reputation rules, the price table, and the actions that are worth taking.
Official source: Casualties: Unknown on Steam ↗
Finding a trader
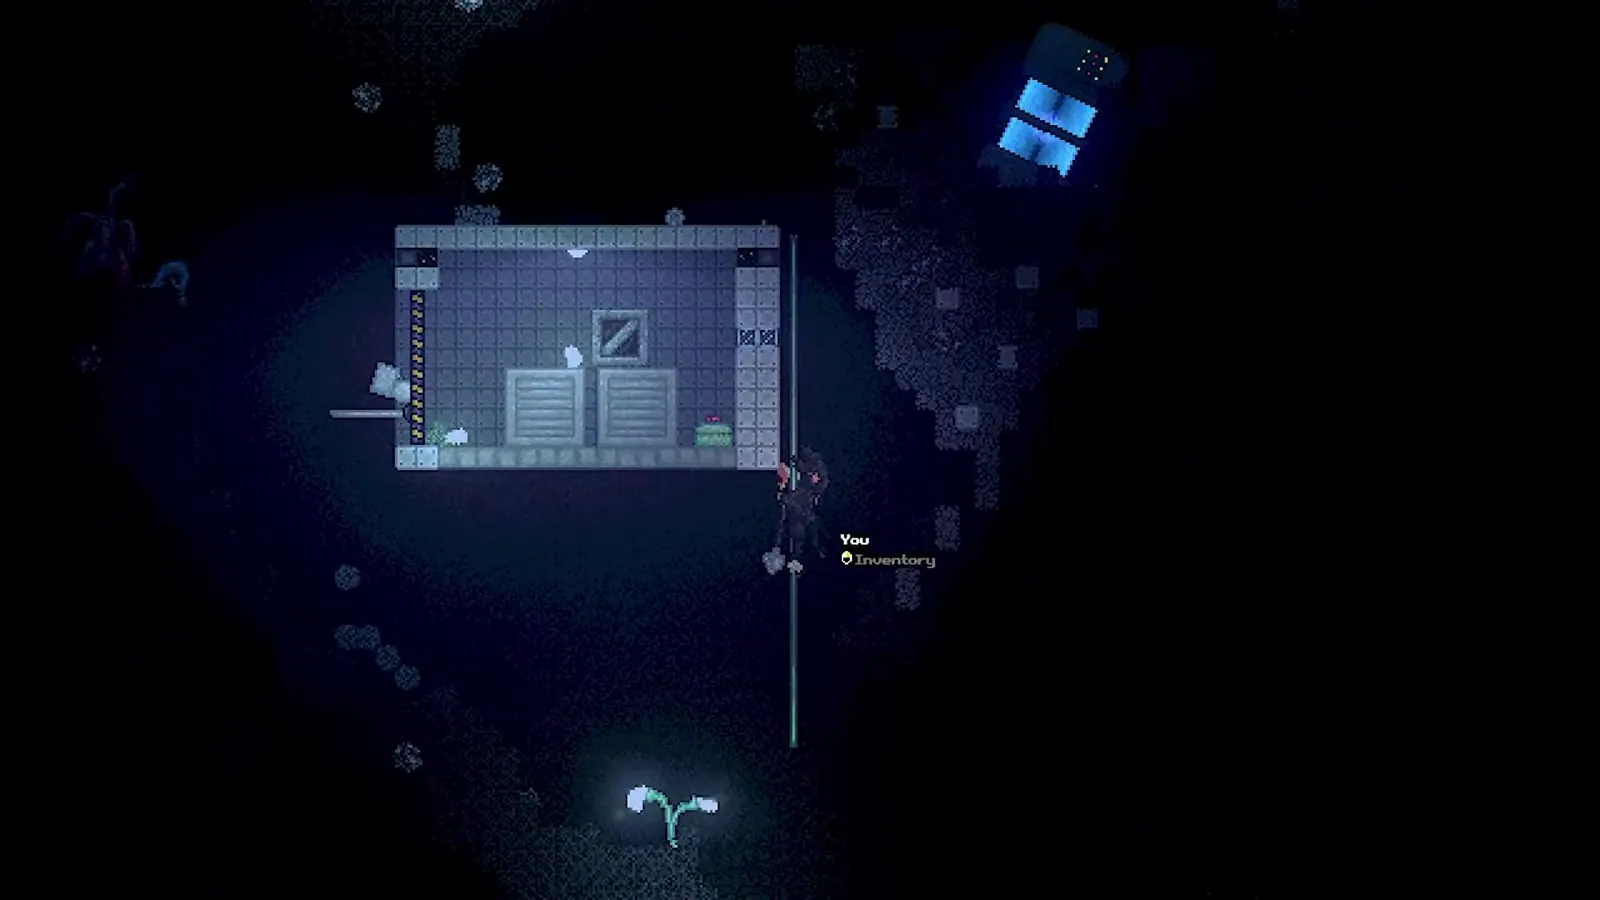
Traders spawn in life-pods with a chance set by the Trader chance run setting (default 33%). In Desolate, traders are rarer but carry three times the stock.
A trader's pod is lit and has a door. If you see a survivor inside, approach without a weapon drawn.
First impression
When you first meet a survivor, the game rolls a base reputation between 75 and 135. That roll is then modified:
| Modifier | Effect |
|---|---|
| Intelligence | ±4 per level of difference from 10 |
| Slurred speech (jaw dislocation) | -20 |
| Holding a gun | -20 |
| Dirtiness above 50% | Up to -25 at 100% |
| Mindwipe | ×0.7 |
The final number determines the greeting:
- Above 125: friendly greeting.
- 75–125: neutral.
- Below 75: dismissive.
A high-INT character with clean clothes and no weapon drawn can turn a bad roll into a good trader. A low-INT character with a rifle out and blood on their hands gets the worst prices in the game.
Price multipliers
Reputation maps to price through a curve. The key points:
| Reputation | Price multiplier |
|---|---|
| 0 | 2.003× |
| 50 | 1.470× |
| 75 | 1.210× |
| 100 | 1.000× |
| 125 | 0.833× |
| 150 | 0.719× |
| 200 | 0.501× |
At 100 reputation you pay the listed price. At 200 you pay half. At 0 you pay double. The curve flattens at the top, so the first 50 points of reputation are worth more than the last 50.
Trading actions
Right-click a friendly survivor to open the trade menu. You can:
- Buy items from their stock.
- Sell items from your inventory.
- Haggle.
- Hug.
- Threaten.
- Rest.
- Ask them to move.
Buying
Buying a non-free item gives +0.75 Mood and +1 INT XP. Trying to buy without enough value costs -2 reputation.
If you are bleeding, the trader will let you take a dressing for free and stocks an extra one. That is the one free item worth taking.
Haggling
Haggling rolls a random number between -25 and +25, divided by the number of haggle attempts so far, and adds it to reputation.
- The expected value is 0.
- The first seven successful haggles give +2.5 INT XP.
- At low reputation, a failed haggle can push the trader toward hostility.
Haggle when you are done buying and want the INT XP, or when a small reputation swing unlocks a specific item. Do not haggle a trader you still need.
Hugging
A hug is a one-time reputation and mood boost, but it has a reputation requirement:
| Character | Minimum reputation |
|---|---|
| Experiment | 100 |
| Milky | 115 |
| Dune | 150 |
Success: +5 reputation and a mood boost. Failure: -8 reputation. Below 38 reputation, a hug attempt can critically fail and turn the trader hostile.
Only the first hug attempt counts. Do not spam it.
Threatening
Threatening works if the random roll is above 0.6 and your reputation after a 70% reduction is still above 30. In practice you need more than 100 reputation to threaten successfully.
A successful threat can get you a free item. A failed one damages the relationship. It is a tool for high-reputation characters, not a shortcut for poor ones.
Hostility
Below 30 reputation, a trader gains 5% hostility per second while you are within 12 tiles. They warn you at 30% and 55%.
Things that trigger hostility:
- Threatening and failing.
- Hugging below 30 reputation.
- Breaking a light near them (-40 reputation).
- Attacking them.
A hostile trader attacks with a slash and has a long reach. They die below 200 HP, and each item in their inventory has a 66.6% chance to drop.
Killing a trader costs -10 Mood, +30 Trauma, +30 Sickness, and gives only +60 Resilience XP. It is almost never worth it.
What to buy
Priority list:
- Sterilized dressing — the best bleed item.
- Blood bag or IV bag — volume replacement.
- Splint — fractures are common.
- Antiseptic / antibiotics — infection is the long-term killer.
- Defibrillator — expensive, but the only fibrillation cure.
- Lantern — light is survival.
- Backpack or trauma rig — capacity.
- Weapon — only if you have ammo.
Do not buy food unless you are starving. Food is abundant in layers 3 and 5.
What to sell
Sell:
- Duplicate tools.
- Ore you are not using.
- Weapons you cannot feed.
- Excess food.
- Low-value trinkets.
Do not sell:
- Your only bandage.
- Your only light.
- A blood bag.
- A blueprint you have not read.
- An E-PDA you have not read.
Reputation strategy
The cheapest way to raise reputation is to arrive clean, unarmed, intelligent and patient:
- Holster your weapon before you open the door.
- Wash or change clothes if dirtiness is above 50%.
- Treat your jaw if it is dislocated; slurred speech costs 20 reputation.
- Buy something small for the mood and INT XP.
- Haggle after you have bought what you need.
- Hug once if you meet the requirement.
- Do not threaten unless you can afford the failure.
Trader inventory and restocking
A trader's stock is generated when they spawn. It does not restock on a timer; buying an item removes it. In Desolate, the stock is three times larger, which makes the rare trader worth the detour.
Traders also carry medical items based on your condition: if you arrive bleeding, they will have a dressing. It is a small mercy, and a reason to visit a trader before you bleed out rather than after.
A drawn gun costs 20 reputation before the conversation starts. Put it away and clean up first.
FAQ
How do I get better prices? Raise reputation: INT, clean clothes, no weapon drawn, buying items and successful haggles.
What is the best reputation? 100 is neutral price; 200 is half price. The curve gives diminishing returns above 150.
Can I kill a trader? Yes, but the mood, trauma and sickness penalties are severe.
Do traders restock? No. Their inventory is generated on spawn.
Why is the trader hostile? Your reputation dropped below 30, or you threatened or attacked them.
Is haggling worth it? For the first seven successes, yes, for the INT XP. Otherwise the expected value is zero.
Sources and further reading
Related guides
More Casualties: Unknown Guides
Every weapon in the Casualties: Unknown demo ranked: damage, swing speed, durability, ammo and which weapon fits which layer.
How blood volume, bleeding rate, tourniquets and transfusions work in Casualties: Unknown, and the order to treat a bleeding limb.
The three playable characters in Casualties: Unknown, what Experiment can do in the demo, and what is actually confirmed about Milky and Dune.
How crafting works in Casualties: Unknown: the five tabs, Intelligence requirements, failure tiers, blueprints and the recipes worth making first.
What the free Casualties: Unknown demo includes, how long it takes, where it ends, what carries over and how to install it on Steam.
All six Casualties: Unknown presets plus the 41 custom run settings, with defaults, ranges and the options that actually change survival.
Casualties: Unknown endings explained: the confirmed story goal, the unreleased final layers, what the demo does at layer 5, and what is still speculation.
Every enemy in Casualties: Unknown, its layer, attack pattern and drops, plus the Elder Thornback fight and the traps that kill more players than monsters.