
Armor protection and insulation values in Casualties: Unknown, which body parts to cover first, and the best pieces for each layer.
Casualties: Unknown Best Armor: Every Piece Ranked
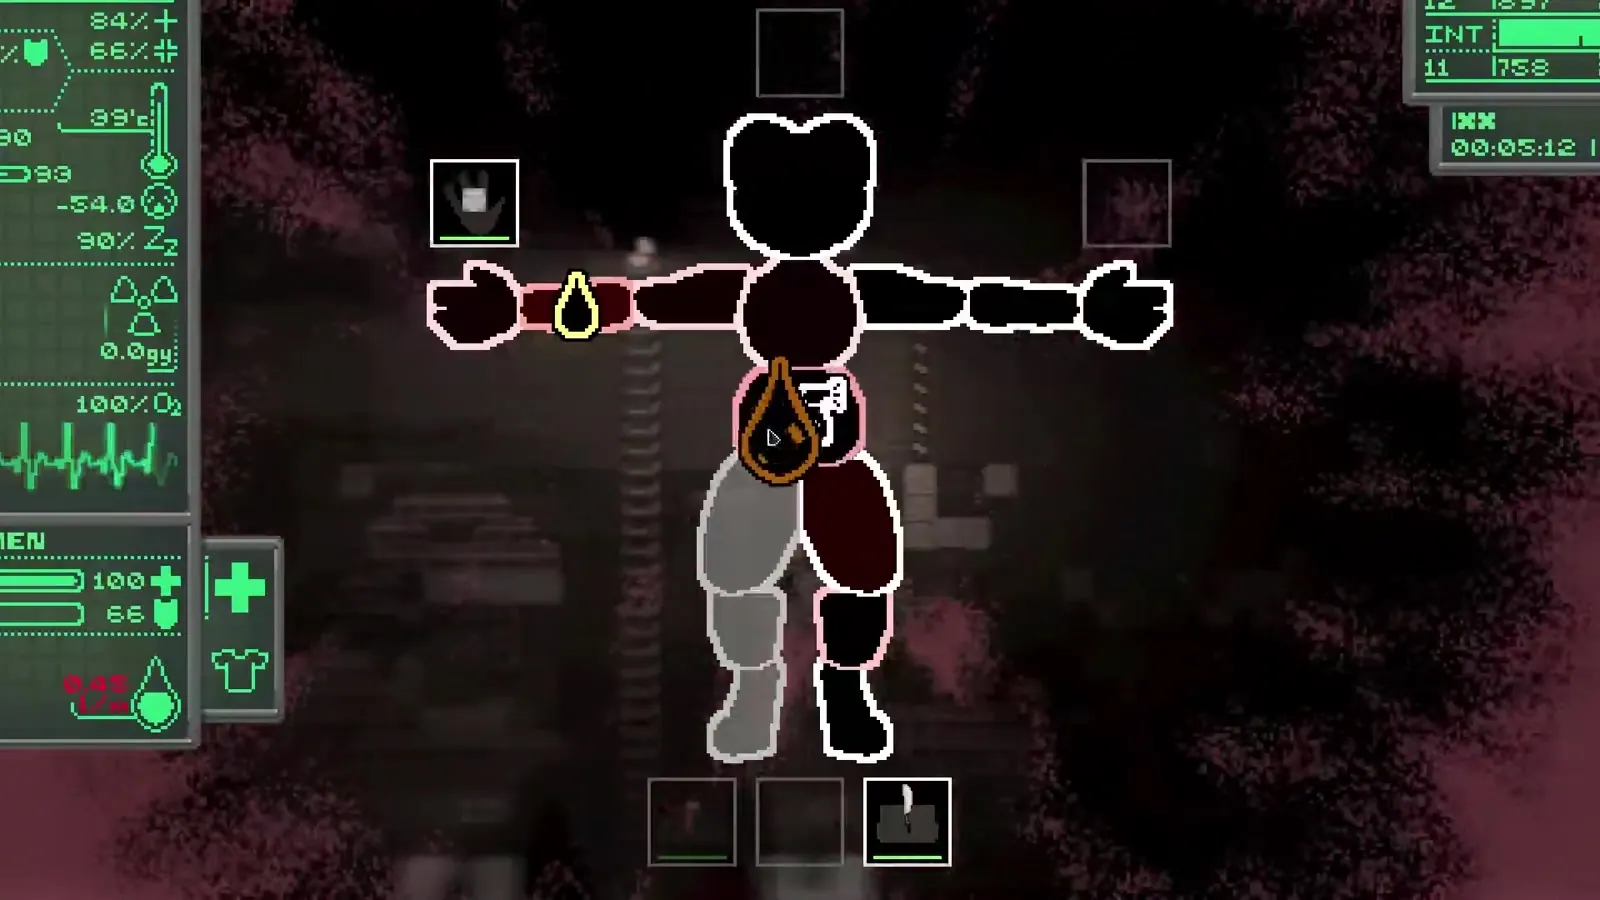
Armour in Casualties: Unknown is not a single defence number. Every piece covers specific body parts, with its own protection percentage and insulation percentage. A riot helmet protects the head at 67% but does almost nothing for the cold. A hoodie protects the torso at 20% but insulates at 60%.
That split is the whole decision. You are not choosing "more armour"; you are choosing which body part the cave is allowed to damage.
Official source: Casualties: Unknown on Steam ↗
Protection values
| Piece | Coverage | Protection | Insulation |
|---|---|---|---|
| Riot helmet | Head | 67% | 20% |
| Tactical boots | Feet | 67% | 30% |
| Tactical gloves | Hands | 50% | 15% |
| Carapace | Chest | 50% | — |
| Belly armor | Abdomen | 50% | — |
| Kneepads | Shins | 50% | — |
| Bicycle helmet | Head | 50% | — |
| Makeshift helmet | Head | 43% | 4% |
| Advanced scuba gear | Back, head, arms, torso, feet | 44% | — |
| Strider pelt | Torso | 29% | 40% |
| Hoodie | Torso | 20% | 60% |
Blank insulation means the value is not published in the item table. It does not mean zero, but do not plan a cold layer around a piece with no insulation figure.
Body-part priority
The body simulation is not symmetrical. Some parts are worth more than others:
- Head. Head damage drives consciousness to zero. A helmet is the best defensive item in the game.
- Chest and abdomen. Vital organs, heavy bleeding, hard to replace. Carapace and belly armour are the mid-game core.
- Feet. Falls and traps fracture feet more than any other limb. Boots prevent the injury that makes you crawl.
- Hands. Hands operate bandages, splints and weapons. Gloves keep them working.
- Shins. Kneepads are cheap protection for a common fracture site.
Arms are the lowest priority for armour because an arm injury is rarely immediately lethal. It is still a serious bleed, and a broken arm drops your weapon.
Best pieces by slot
Head: Riot helmet
67% protection, 20% insulation, and no durability loss. There is no reason to wear anything else once you find one. The bicycle helmet (50%) is the budget option; the makeshift helmet (43%, 4% insulation) is a stopgap.
The head is also the body part that the Elder Thornback's attacks can drive to zero fastest. A helmet does not prevent dismemberment — the boss excludes the head, chest and abdomen from that roll — but it reduces the damage that precedes it.
Chest: Carapace
50% chest protection with no insulation penalty listed. The carapace is the correct combat chest piece for layers 1–5. In cold layers, swap to a Strider pelt (29% protection, 40% insulation) or layer a hoodie under it.
Abdomen: Belly armor
50% protection for a body part that bleeds heavily and is hard to treat in the field. Belly armour is unglamorous and it saves runs.
Hands: Tactical gloves
50% protection, 15% insulation. Gloves are the difference between treating a wound and dropping the bandage because your hand is shaking.
Shins: Kneepads
50% protection. Cheap, light, and prevents the fracture that turns a 30-minute climb into an hour.
Feet: Tactical boots
67% protection, 30% insulation. The best foot item in the demo, and the piece that makes falls survivable.
Insulation is a separate build
Protection does nothing for temperature. The layer temperatures range from -30.6 °C in Frozen Chasm to 38.6 °C in Wasteland, and the game tracks body temperature separately from damage.
For cold:
- Hoodie: 60% insulation, 20% protection. The best insulation-per-slot item in the demo.
- Strider pelt: 40% insulation, 29% protection. A good cold-layer chest piece.
- Tactical boots: 30% insulation.
- Riot helmet: 20% insulation.
For heat, insulation works against you. In Dried Desert and Geothermal Vents, wear less and carry water. The health panel shows temperature stress before it becomes damage.
The walkthrough lists each layer's average temperature.
Armour and encumbrance
Every piece adds weight. A full set of riot helmet, carapace, belly armour, kneepads, boots and gloves is a lot of weight for a character with a 7.5 u backpack.
The practical rule: wear the pieces that cover the parts you cannot afford to lose, carry the rest. Head, chest and feet are non-negotiable. Hands and shins are worth it if you have capacity. Abdomen is the flex slot.
Encumbrance above 15% slows movement and starts feeding Strength and Resilience XP. A little over the line is fine; 100% is immobility.
Armour by layer
| Layer | Priority | Recommended |
|---|---|---|
| 1 Gravel Lands | Head, feet | Bicycle helmet, boots, hoodie |
| 2 Deeper Gravel | Head, feet, hands | Riot helmet if found, gloves |
| 3 Dried Desert | Head, feet, heat | Light layers, boots, helmet |
| 4 Wasteland | Head, torso, insulation | Carapace, hoodie, boots |
| 5 Overgrown Depths | Full set | Riot helmet, carapace, belly, kneepads, boots, gloves |
What armour does not do
- It does not stop bleeding. A protected hit can still open an artery.
- It does not prevent infection. A cut under armour still rolls infection.
- It does not prevent dismemberment. The Elder Thornback's ability ignores protection.
- It does not replace medicine. Armour reduces damage; bandages and blood bags undo it.
Do not skip the medical kit because your armour is good. The medical guide explains the treatment order.
Head damage drives consciousness to zero. A riot helmet is the single best defensive item in the demo.
FAQ
What is the best armour piece? The riot helmet: 67% head protection with no durability loss.
Does armour reduce fall damage? It reduces damage to covered parts. It does not prevent fractures from a long fall.
Can I wear a hoodie under armour? Yes. Layering insulation under protection is the intended cold-weather build.
Is the scuba gear worth it? It covers many slots at 44%, which is useful for flooded layers, but it is not a combat set.
What about heat? Insulation traps heat. In hot layers, wear less and carry water rather than stacking insulation.
Sources and further reading
Related guides
More Casualties: Unknown Guides
Casualties: Unknown item tier list for the demo: the best tools, weapons, armour, containers and medical items, ranked by how much they change a run.
A practical start for Casualties: Unknown: controls, first crafts, health panel reading and a safe route through the five demo layers.
How blood volume, bleeding rate, tourniquets and transfusions work in Casualties: Unknown, and the order to treat a bleeding limb.
The three playable characters in Casualties: Unknown, what Experiment can do in the demo, and what is actually confirmed about Milky and Dune.
How crafting works in Casualties: Unknown: the five tabs, Intelligence requirements, failure tiers, blueprints and the recipes worth making first.
What the free Casualties: Unknown demo includes, how long it takes, where it ends, what carries over and how to install it on Steam.
All six Casualties: Unknown presets plus the 41 custom run settings, with defaults, ranges and the options that actually change survival.
Casualties: Unknown endings explained: the confirmed story goal, the unreleased final layers, what the demo does at layer 5, and what is still speculation.